What you need
- Pumpkins
- Gourds
- Blank paper
- Pen
- Markers / Paints
- Glitter
- Glue
How to make the Halloween Pumpkin
- Set up the pumpkins and gourds for each child and yourself. Give the little ones the mini gourds so they can handle them better.
- On a blank piece of paper decide what face / image you are going to draw on your pumpkin and gourd. This is a good basis to start with, but does not mean everyone has to stick to this for their finished product.
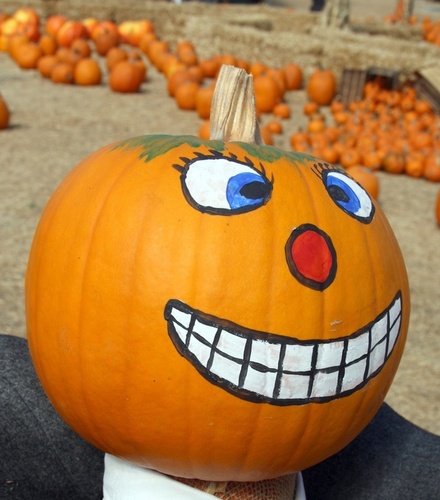
- Once you’ve all decided on the designs, you can let each child loose on their gourds and pumpkins, and anything goes really. Allow them to draw whatever they like and decorate with paint, markers and glitter and simply using their own imagination. There’s nothing better and more rewarding for the kids to create their own pumpk and gourd art without having to stick to rules.
- When they are finished, allow them to dry, and place them on the doorstop or the kitchen window.
The kids will love to see them every day, and because they aren’t carved pumkins, they will last through the Halloween season. And best of all … no carving required!
Like this? You'll love these
Return to our Halloween Centre.


